


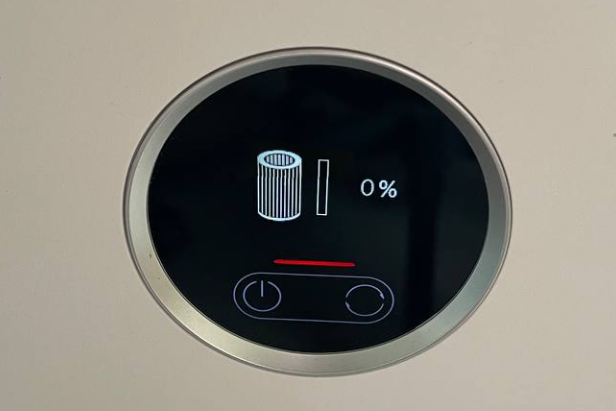
I searched the web for a deal on a decent air purifier and the Xiaomi 4 Pro seemed to meet all my requirements. The filter size, scheduler and air volume ticked all the boxes. I set it up and thought nothing of it until last week my room was lit with the ‘0% remaining’ replace filter warning. I had set my unit up to disable the LCD so this was an unwelcome surprise. I dismissed the warning by clicking the user button to dismiss the error and 15 minutes later it lit up my room again…
There was nowhere in the app I could disable the warning, having cleaned the filter several times throughout the year I was sure it had at least another 12 months of life left in it. I decided to investigate the nightmare DRM RFID chip that was stuck to the bottom of my filter.
Grifters and Gatekeepers:
As I reached for my proxmark I realized that surely someone had already done the heavy lifting, I was partially correct. Introducing Flamingo Tech he had spent some time reverse engineering these filters and publishing his work.
In his repo he outlines the important blocks from the tag:
- Block 8 back to 00000000, it’s back to 100%
- Other block info:
- Block4 is rfid-factory-id
- Block5 is rfid-product-id (xx:xx:xx:xx Regular Filter)
- Block6: rfid-time
- Block7: rfid-serial-num
Unfortunately the NfcA tag is still locked and we can’t edit the tag without the password. Thankfully the proxmark community had already tackled this. You can review their process in discovering their password key gen here.
Flamingo Tech published a script written by Doegox outlining how the password crack works. Despite the title “This is how they do it!” he fails to explain the code within the post and uses the blog as a call to action to sell his own tags. Normally this sort of thing doesn’t bother me but the comment “This will significantly decrease the waste footprint from a whole filter.. to just a sticker 😀” rubbed me the wrong way. If he really cared about the carbon footprint he would have explained how to update the tag already on the filter you own. However if you want to support his work you can still grab his stickers here.
I decided to explain the code here but if you want to skip to the actual filter reset scroll down to “Hacking the tag”.
Password Key Gen:
The script contains two examples, the first example is based on the tag UID “04A03CAA1E7080” resulting in the password “CD91AFCC”.
First we take the UID and convert it to a byte array. So 04A03CAA1E7080 becomes a sequence of bytes [04, A0, 3C, AA, 1E, 70, 80].
Next the SHA-1 hash function is applied to this byte array which gives us bcaf806333ccf720cd441a167f914fbe6ea4a513 which is converted to a byte array as we need only 4 bytes from this string to form the password.
Using the first byte in the array “BC” we convert it to decimal to get 188 and use that byte to determine where each byte is within the hash.
The calculated indices are:
188 % 20 = 8
(188 + 5) % 20 = 13
(188 + 13) % 20 = 1
(188 + 17) % 20 = 5
Now back to that hash we generated earlier – bcaf806333ccf720cd441a167f914fbe6ea4a513
Grabbing the bytes in the correct order we get:
8th byte: CD
13th byte: 91
1st byte: AF
5th byte: CC
Concatenating these forms the password:
CD91AFCC
Now that we know how it works we can modify/reset our own filters. Not everyone has access to a ~$350 Proxmark so I’ve created instructions for updating your tag with any NFC enabled mobile phone.
Step 1:
Install NFC tools for your NFC enabled Android or iPhone.
Step 2:
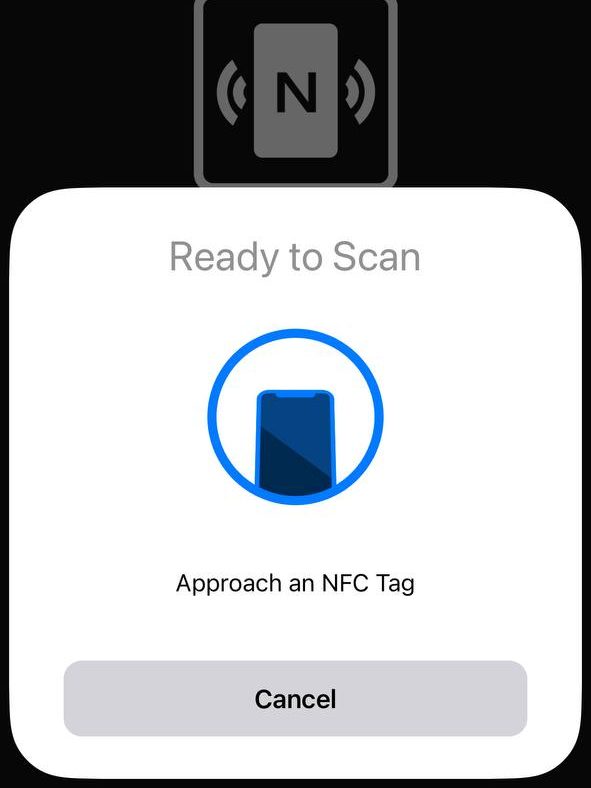
Scan the NFC tag on the bottom of your filter with the read function of the free app.
Step 3:
Copy the retrieved ‘Serial Number/UID’ (14 character hex value) down somewhere.

Step 4:
Generate your reset command by entering the 14 characters below. If the UID is 12345678901234 the password will be 011853E8 and the command to reset the filter will be: 1B011853E8,3008,A20800000000
UID to Password Converter
Step 5:
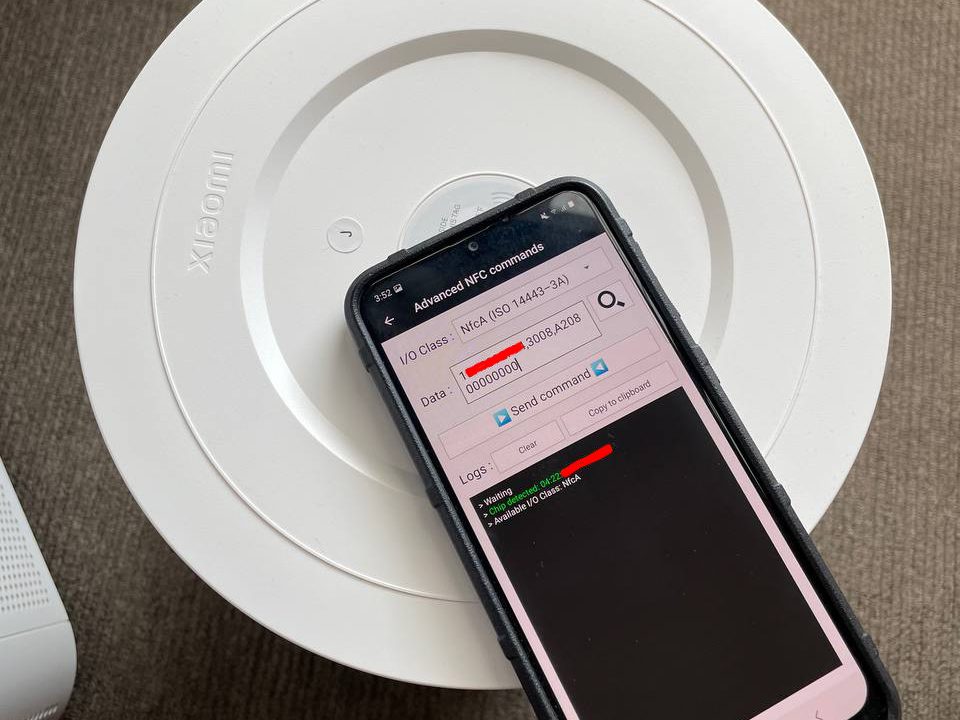
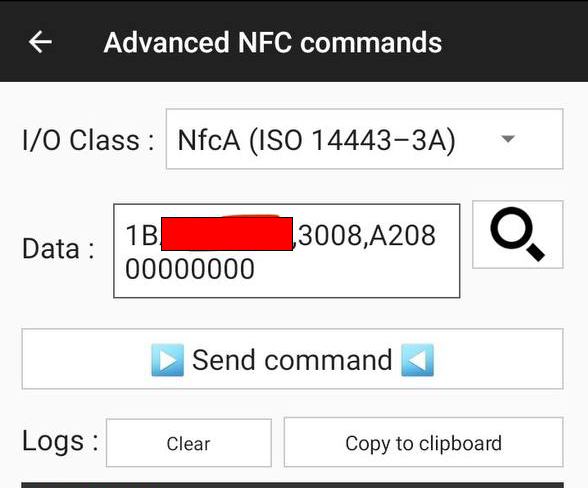
In the main menu of the app click ‘Other’ -> ‘Advanced NFC commands’ and accept the disclaimer. Then paste the command above into the data box. (NOTE: Android users will have to select the I/O class which will be “NfcA (ISO 14443-3A)” from the drop down menu)
Step 6:
Ensure the top of the phone is sitting over the tag and click ‘Send Command’
Voila! You’ve successfully reset your filter. Repeat as needed for continuous, hassle-free air purification.
Compatible Device List:
| Xiaomi Air Purifier: | Compatible: | Tested: |
| 4 Pro | ✓ | ✓ |
| 4 Lite | ✓ | ⨯ |
| 4 | ✓ | ⨯ |
| MI PRO | ✓ | ⨯ |
| MI PRO H | ✓ | ⨯ |
| PRO H | ✓ | ⨯ |
| PRO | ✓ | ⨯ |
| 3H | ✓ | ✓ |


